Post in category
Description of the dashboard
Updated this month
After logging in to our application, you'll enter the main menu or "dashboard". In this article, we'll describe the individual sections so that you get a better overview of the Foxentry administration.

- With a search engine, you can easily filter between your projects.
- You can sort the projects by name or by the number of requests used.
- With the button, you can create a new project - instructions can be found here.
- In the footer, you'll find links to the manual, frequently asked questions, contact, settings, and invoicing.
- There is also a list of the latest news from Twitter. We'll inform you about the latest news related to the application.
- You can follow us on social networks.
- You can set up a news subscription, which will be sent directly to your e-mail.
- If you have more than one project, you can also switch between them this way.
Header
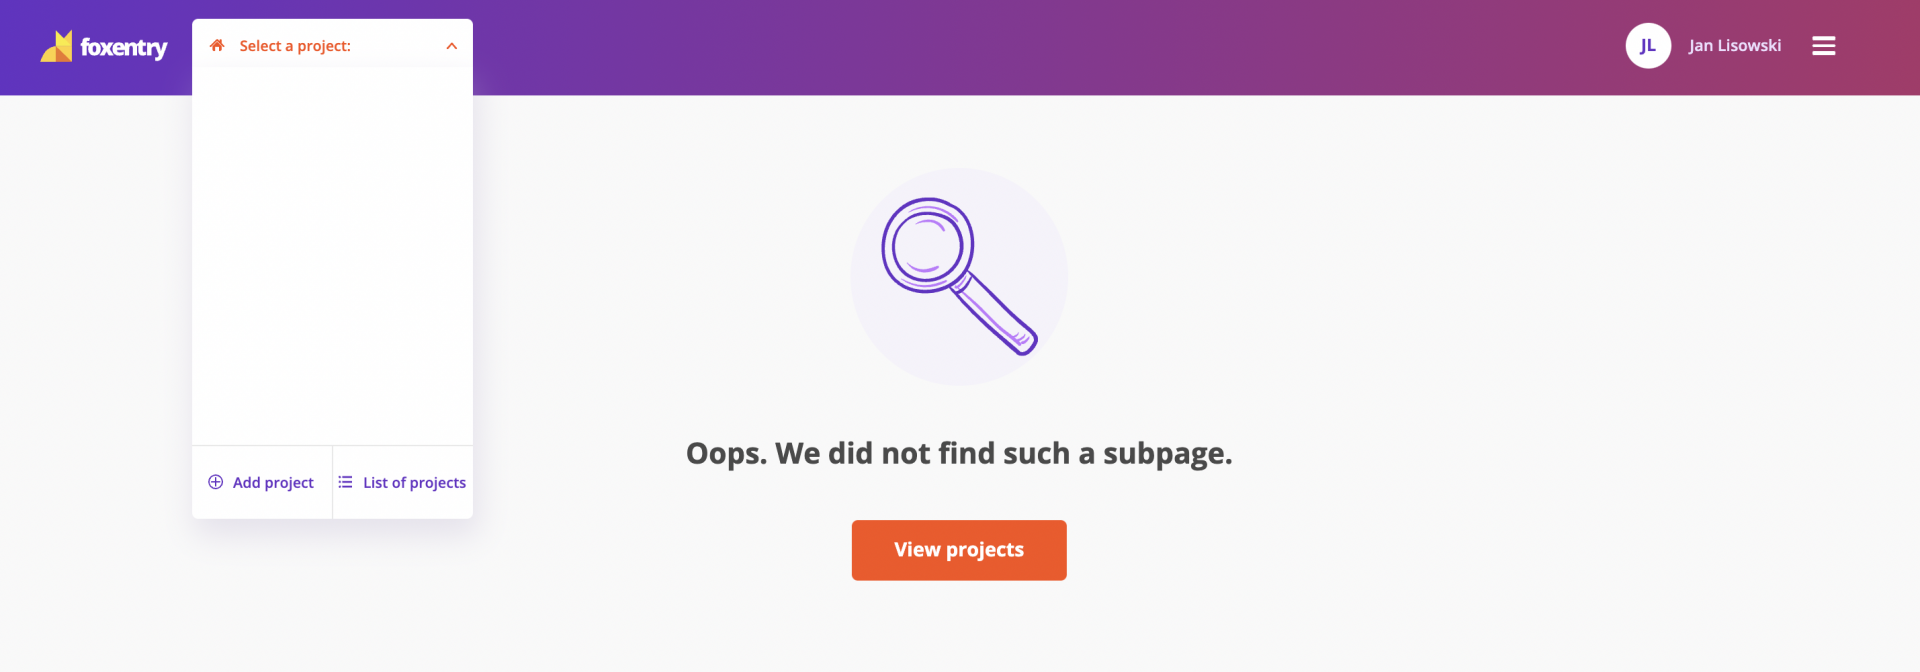
As we mentioned in the previous paragraph, clicking on select a project will open a menu in which you can switch between your projects. In the menu displayed below, you have the option to add a project, or you can return to the list of the projects.
Personal menu
At the other side of the top panel, you can click on your name to open your profile menu, where you can find:
- List of projects - click to get back to the list of projects
- Settings - here you can set up your account, upload an avatar or change your password.
- Billing - here you'll see a list of all orders, your billing information, and you also have the option to set up automatic payments.
- Affiliate - here you can reach your affiliate interface, and you can also register directly into the affiliate program through it.
- Manual - if you're unsure about something, just click on the manual button, which will direct you to our manual on the web.
- Log Out - Click the button to log out of the Foxentry administration interface.