Input mapping - manual settings
This guide is for users who do not want to map inputs using the web configurator, which is an easier way. This option is intended for more advanced users who have at least a basic knowledge of HTML.

- Make sure you have the Foxentry script embedded in your website or form, then go to settings in your project and click on the service you want to set up in the top menu.
- Click Set manually at the bottom of the screen.
Adding a new validator
After clicking on the Set manually button, a window for adding a new validator will open. Think of the validator as a group of columns that are related to each other - in the case of addresses autocomplete, it's a street, house number, city, or postal code. So if you select a street from the autocomplete, the rest of the fields will be filled automatically. Sometimes you need more of these validators (for example when the form includes the billing address and the delivery address - 2 different addresses that you need to be separate).
Enter the HTML identifier of each input
Now you need to enter the ID of the individual fields on your website and assign our designation (field functionality) to them. Each site is a little different, so the individual identifiers may be different. The easiest way to find them is, for example, by using the developer tool in your browser. Just right-click on the box and click Explore.

You may come across different types of notation, but here are some of the most common:
#email - this is how you mark an element in the Foxentry administration that has set the parameter id = "email"
.email - this way you enter an element in the administration, which is marked with the parameter class = "email"
[name = email] - indicates an element that contains the parameter "name" with the value "email" - so name = "email"
Additional validator settings
In the validator window, you have the option to set additional things that are not mandatory:
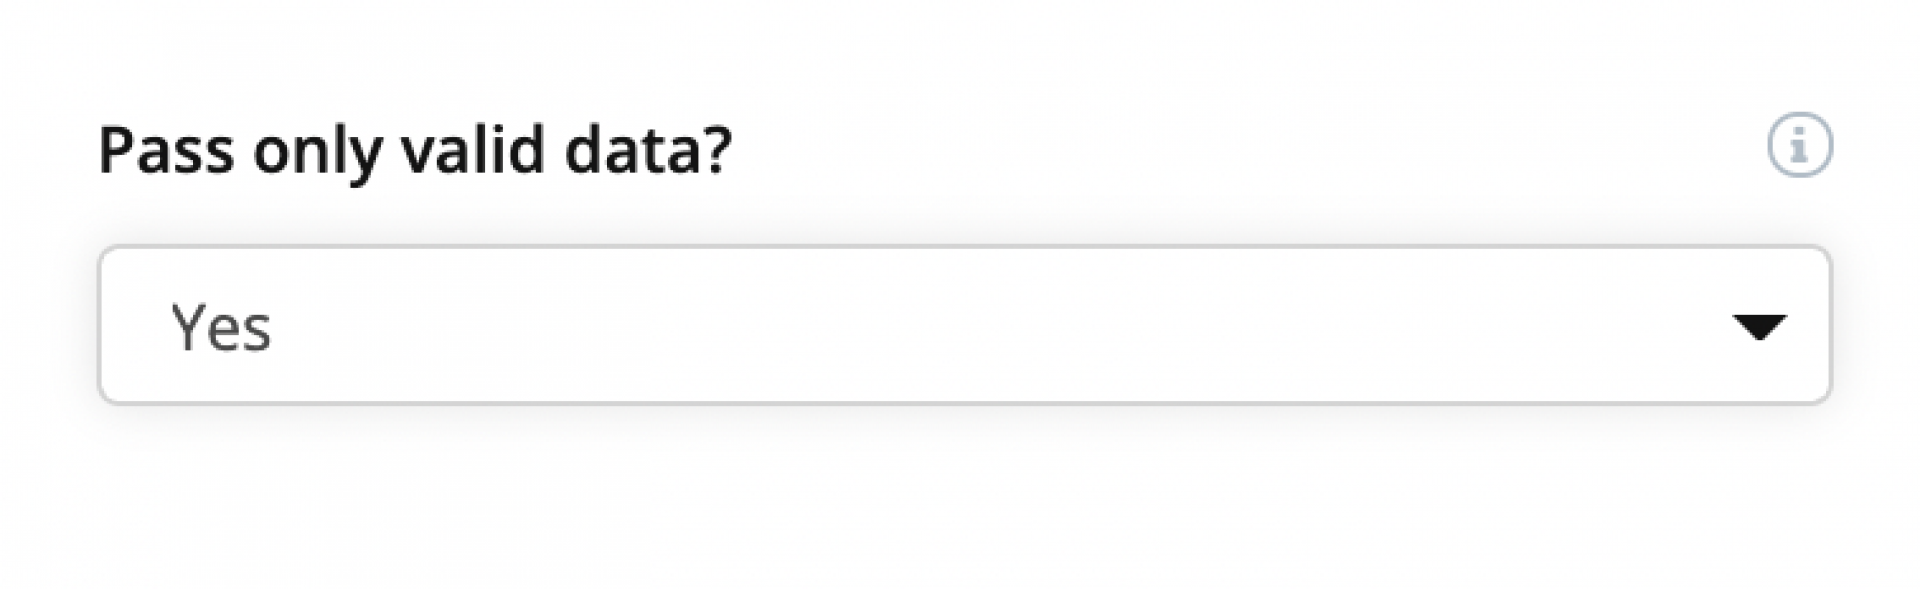
Passing only valid data - If you have this setting enabled, some data in the form could be evaluated as invalid (red border with a cross), and therefore the form would not be sent correctly (here it depends on the settings of your website, see callback). If you have not enabled this setting, invalid entries will be marked with a maximum warning (orange border with an exclamation mark icon) and the form should be submitted after the correct setting.
Restrict to certain URLs only - if you have Foxentry script embedded in all of your subpages, you may not want to use a validator on some of them. For these cases, you can use URL restrictions. By using simple conditions, you can enable or disable this validator on all URLs that begin with a specific word.
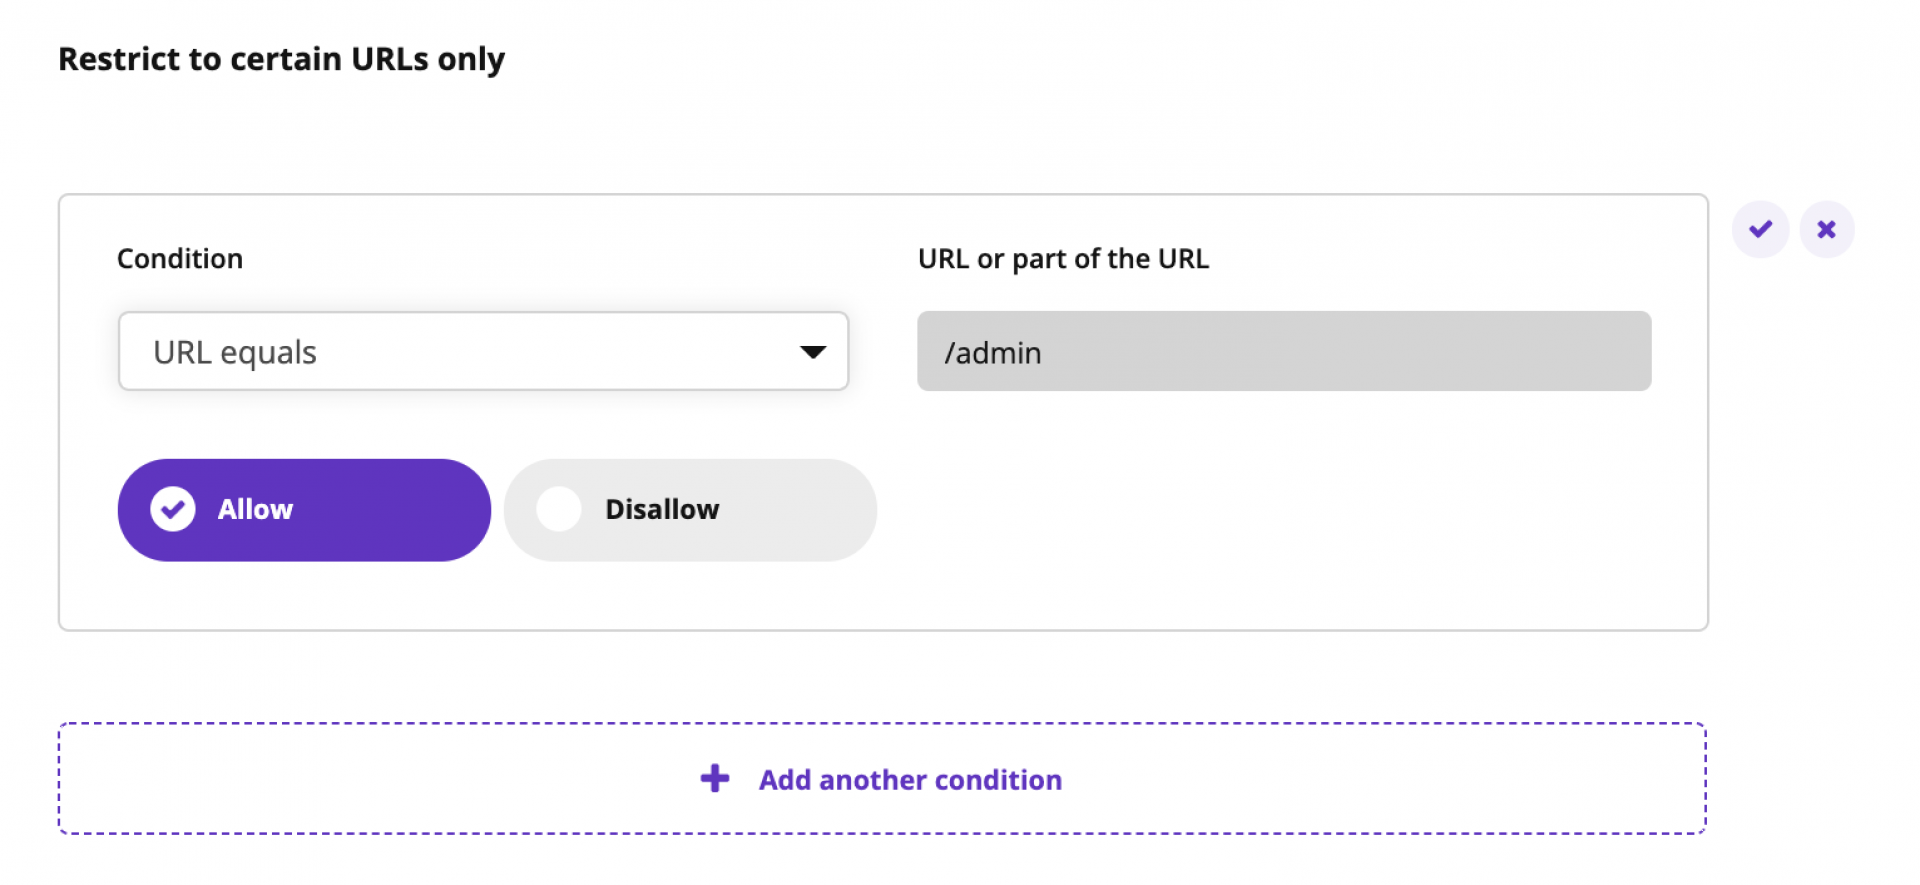
Example: I use an e-mail validator to collect e-mails for the newsletter on the home page of a website. However, I don't want to use it in web administration. So I choose the condition URL starting with /admin and I will disable it.
Still having trouble? Leave us a note.