IdoSell
Updated this month
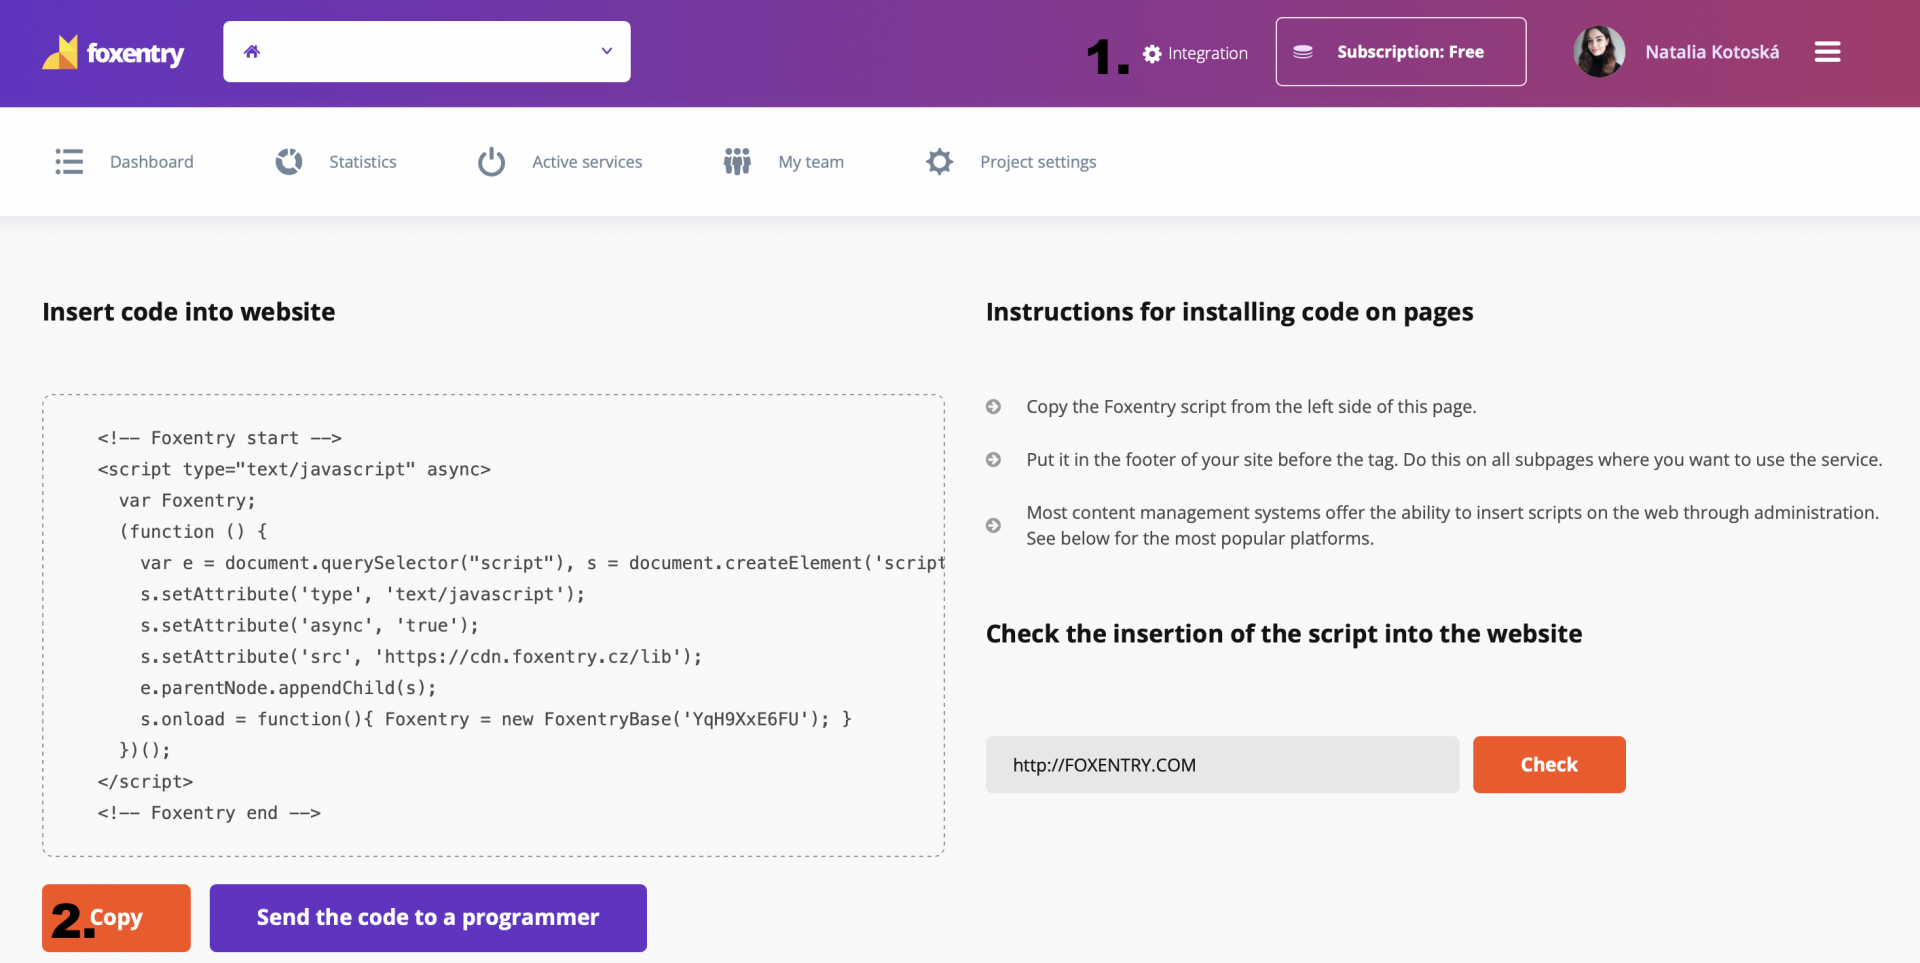
In the details of your project, click on Integration (no. 1), then copy the script code on the left part of the screen (no. 2)
- Go back to IdoSell administration:
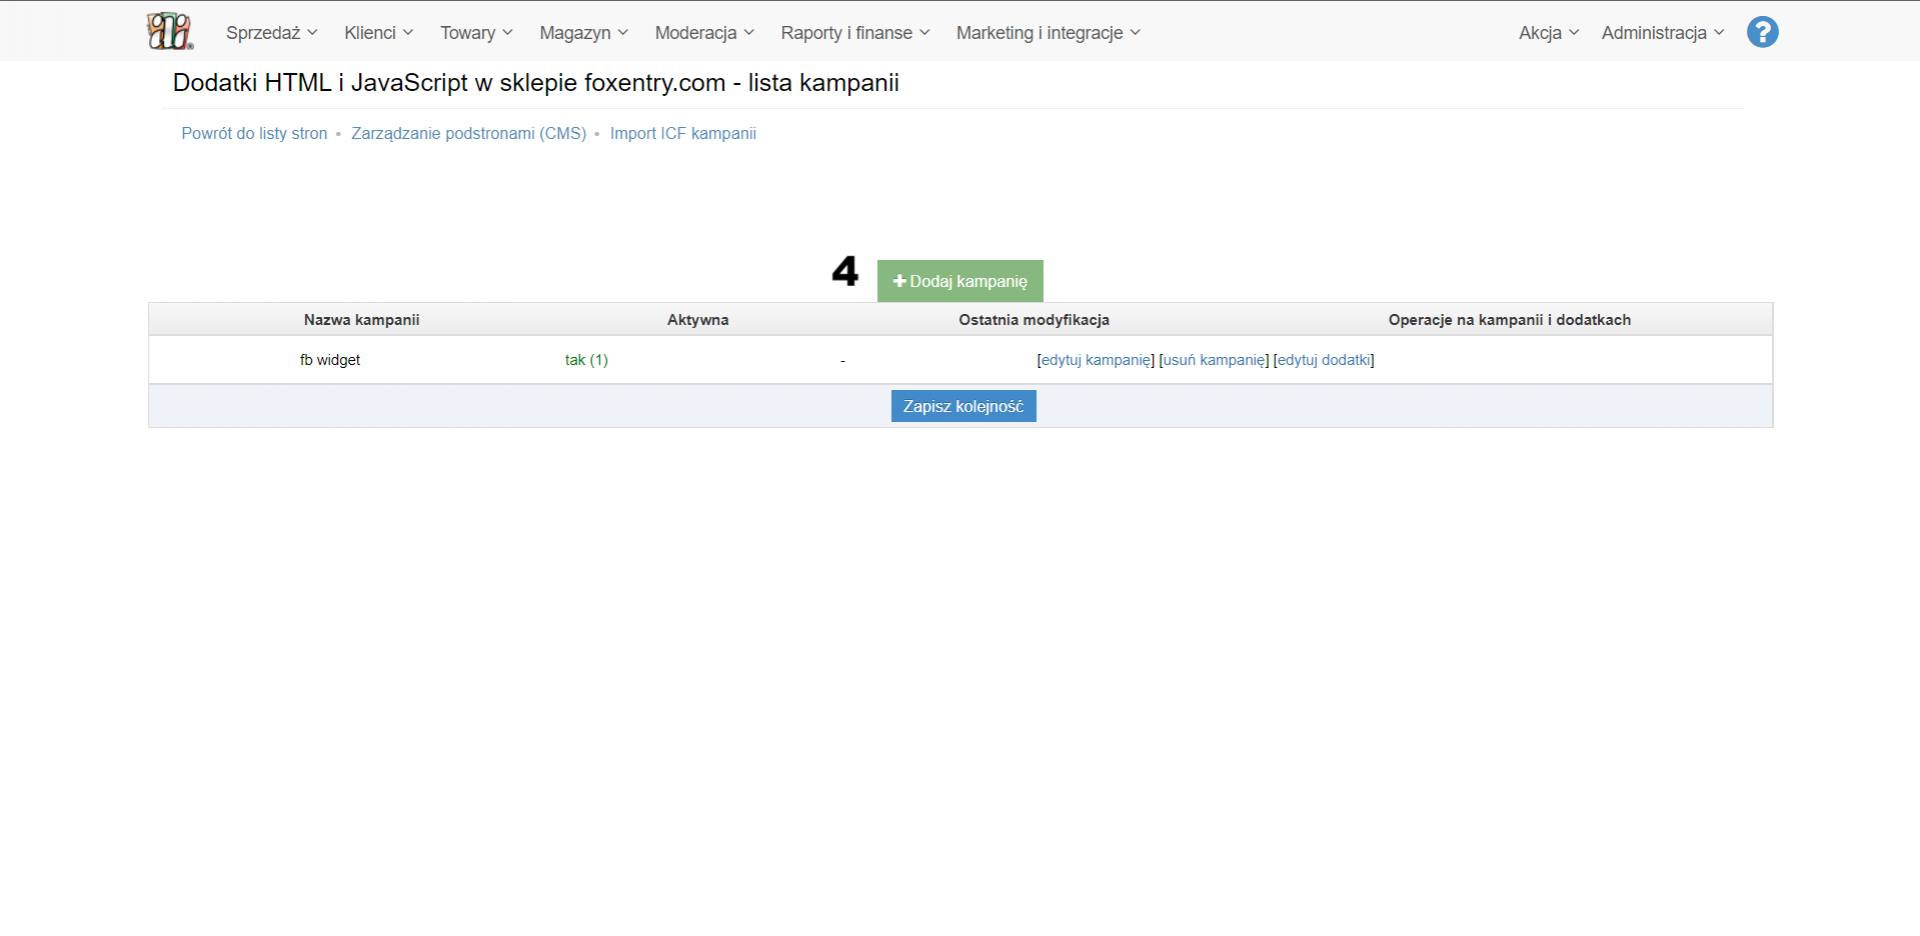
- Go to "Moderacja" -> "Dodatki HTML i JavaScript" (no. 3)

- Click on "Dodaj kampanię" (no. 4)
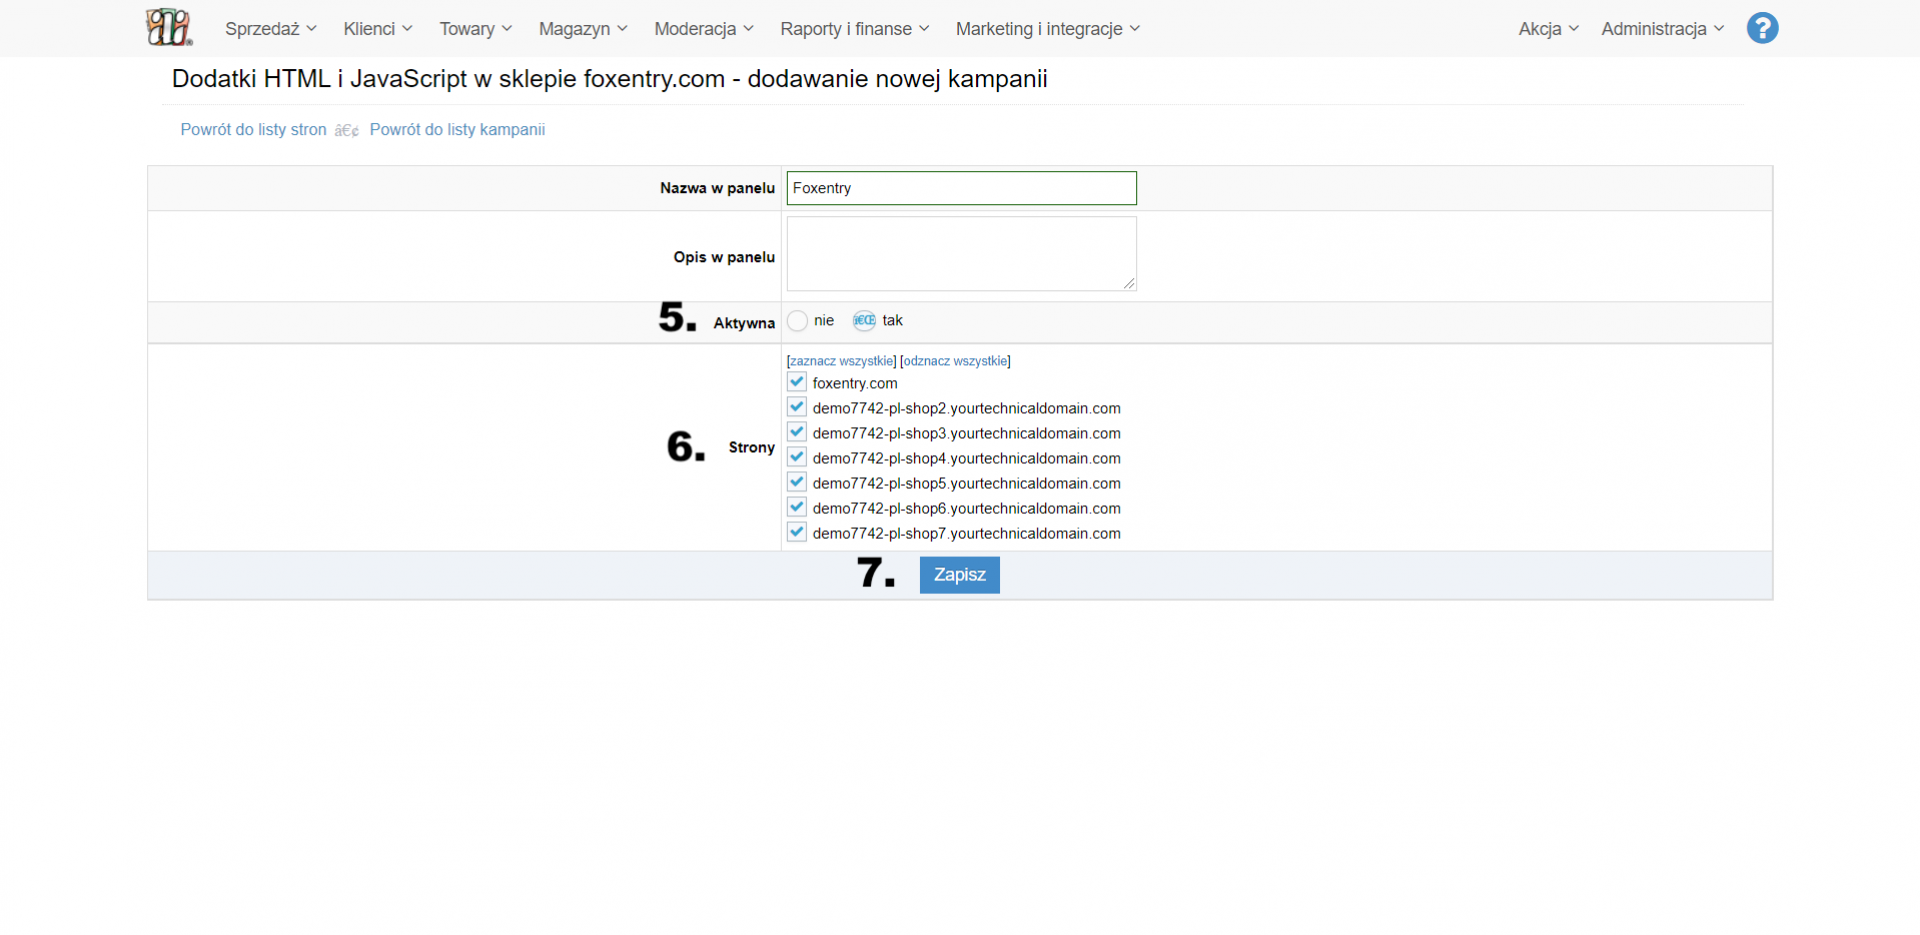
- Set to "aktywna" (no. 5.)
- Mark all sites (no. 6)
- Click on "Zapisz" (no. 7)
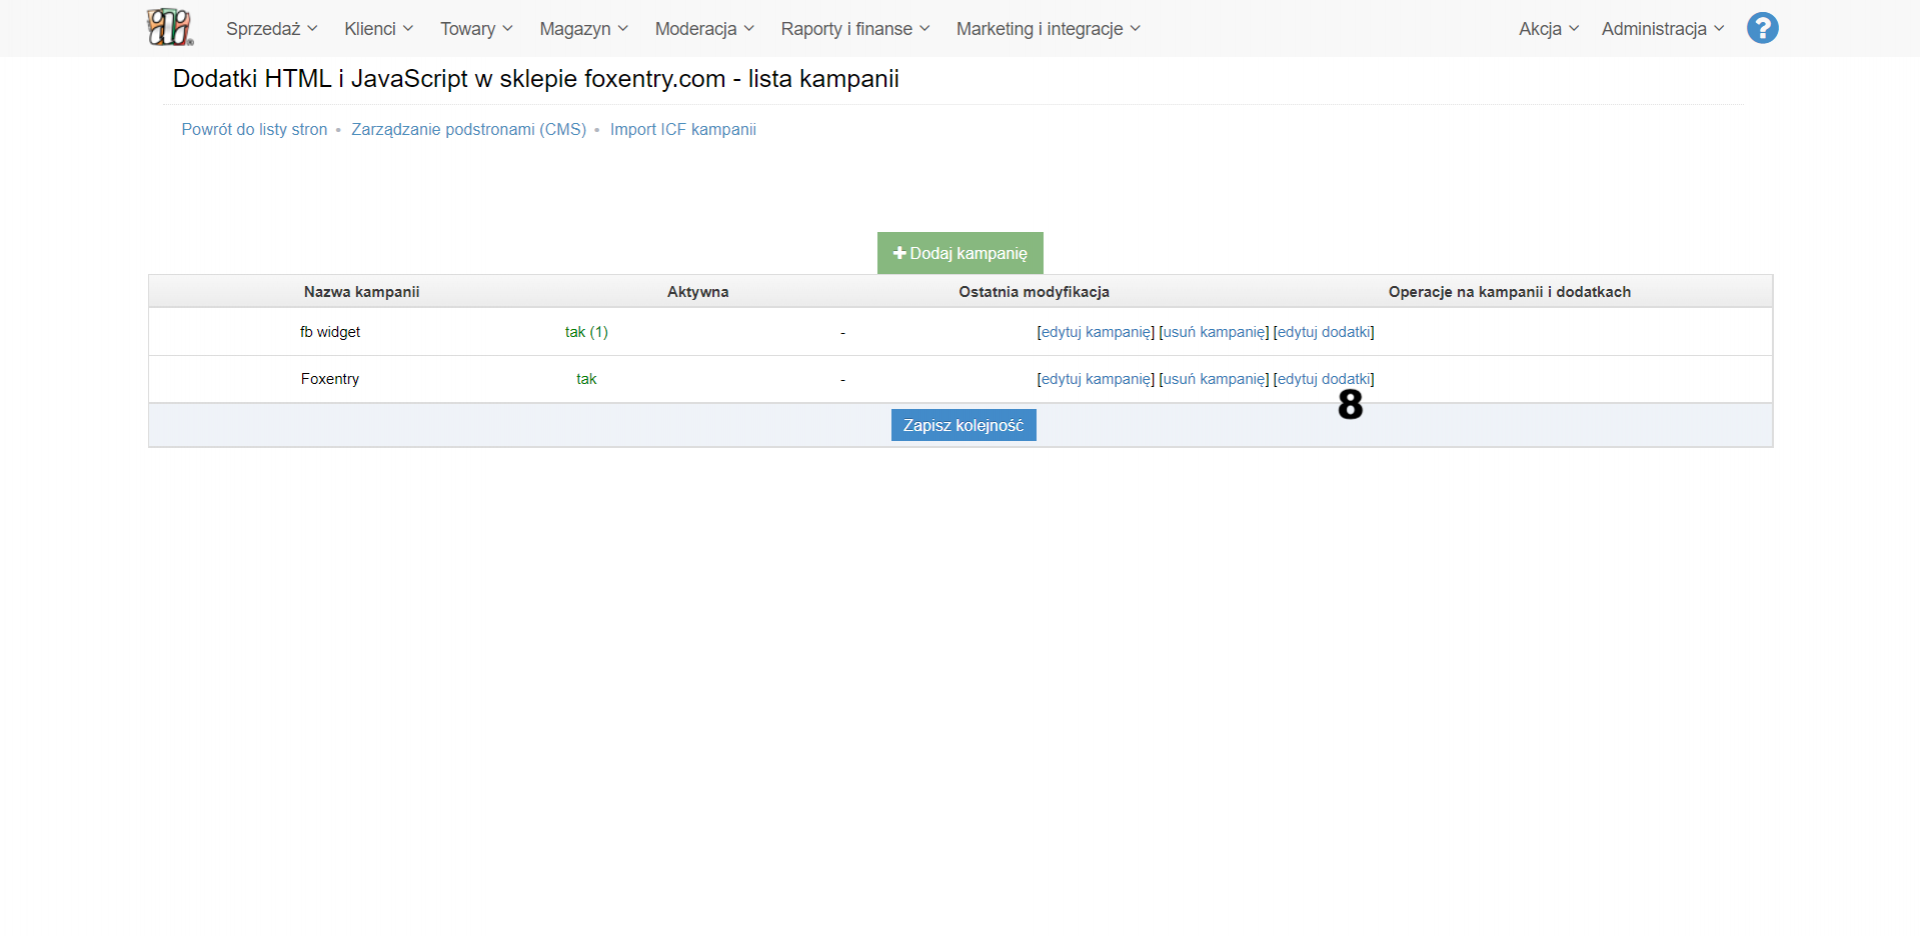
After saving the changes, the newly created campaign will be displayed on the list of campaigns - the next step is to add Foxentry to it.
- Click on "Edytuj dodatki" (no. 8)
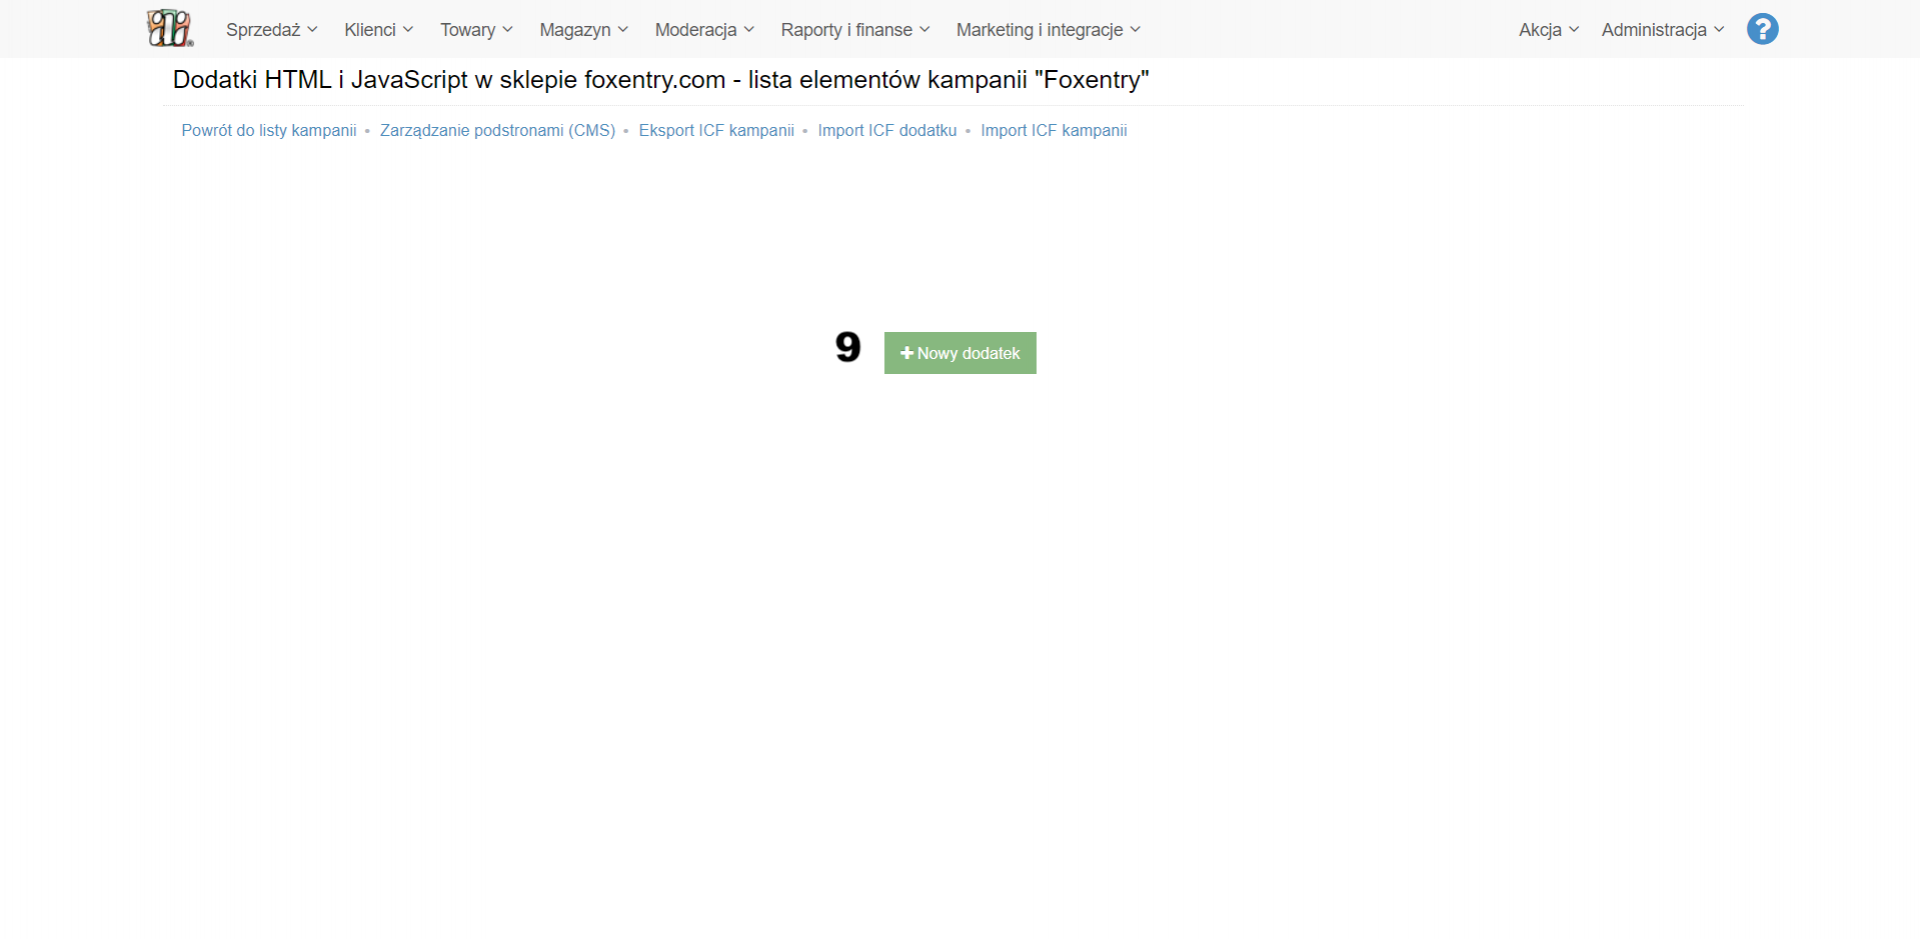
- Click on "Nowy dodatek" (no. 9)
- Add title (no. 10)
- Set to active (no. 11)
- On “Wczytaniu dodatku na stronie opcje” mark “Razem z treścią strony” (no. 12)
- On “Pokazuj” mark “Normalna wersja strony” and “Mobilna wersja strony” (no. 13)
- On “Automatyczna kontrola i wyłączenie” mark “nie” (no. 14)
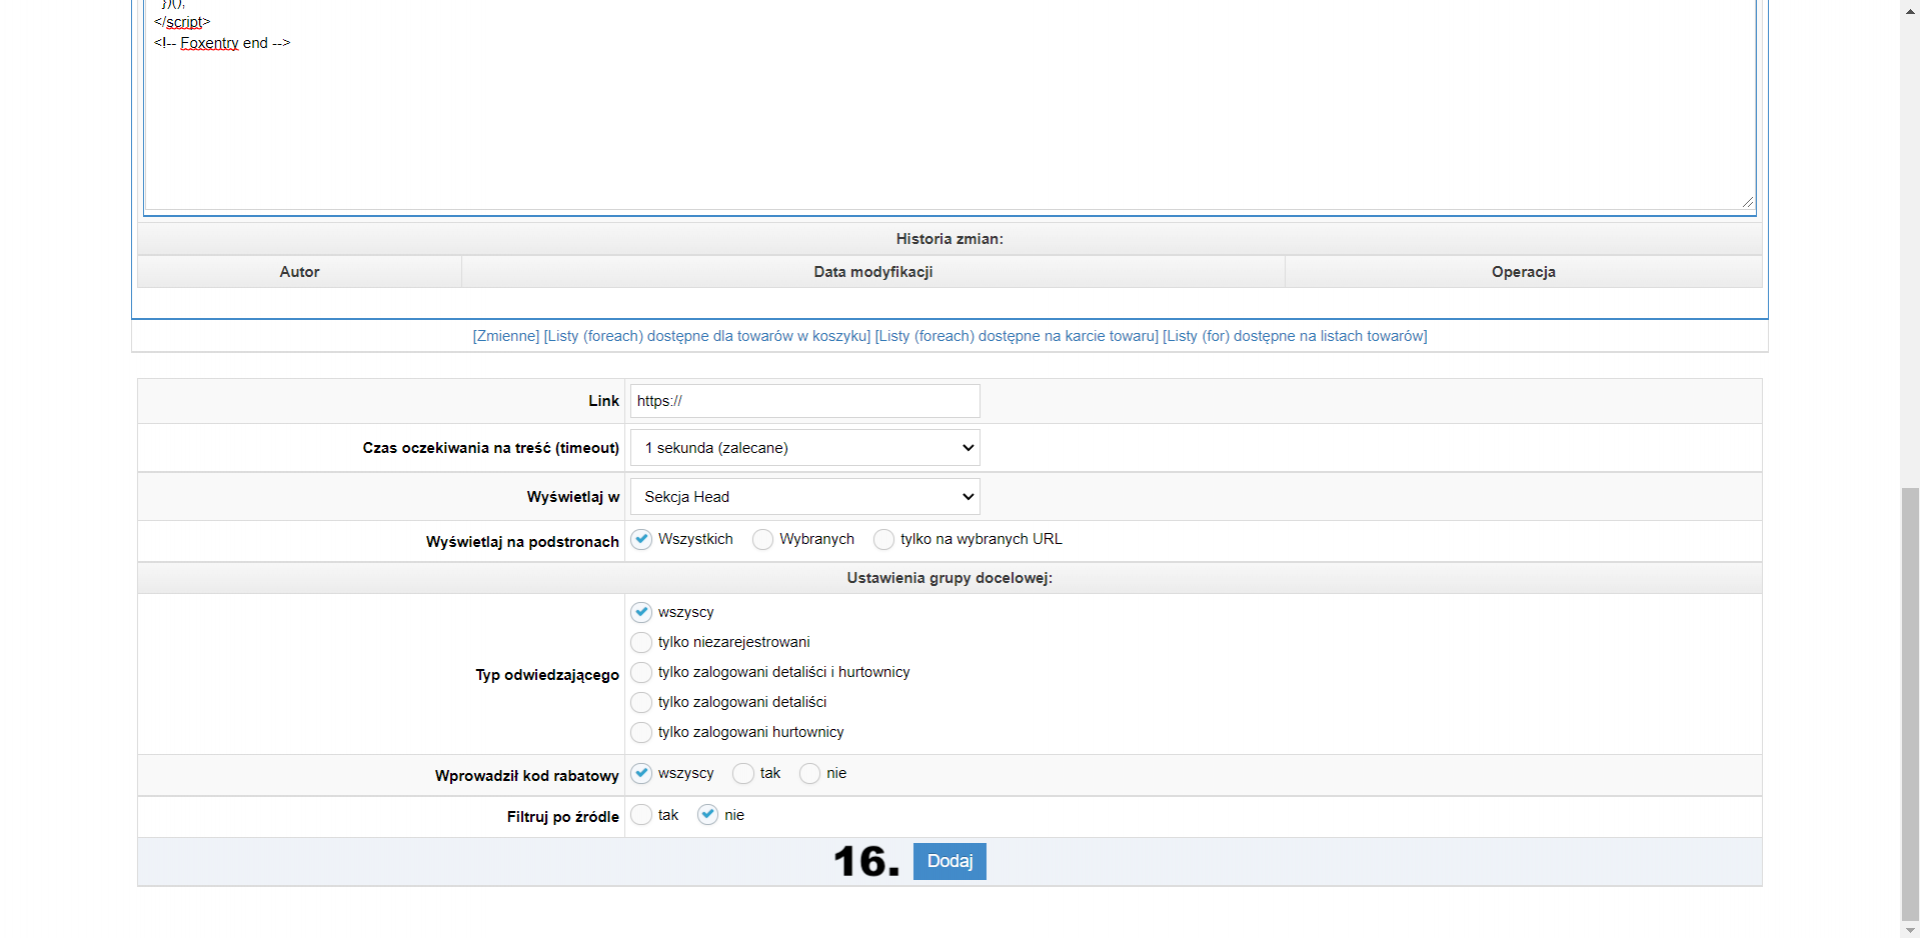
- In the field "Edycja (HTML)" add copied script (no. 15)

- Click “Dodaj” (no. 16)
The Foxentry script has just been pasted on all subpages. Editing / adding an add-on may involve waiting time for its appearance on the front end (part of the store visible to the customer) up to an hour from the operation.
The last step is to set up validators, either using the interactive web configurator or manually assigning html identifiers.
Still having trouble? Leave us a note.